Norwegian Butter Cookies
Ingredients
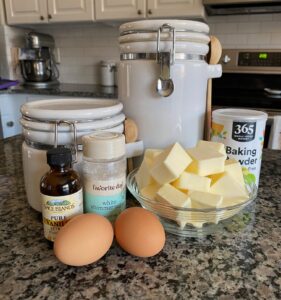
- 4 cups all-purpose flour
- 1 cup butter, softened + 6 tablespoons
- 1/2 teaspoon baking powder
- 1 1/3 cups granulated sugar
- 2 eggs
- 1 teaspoon vanilla
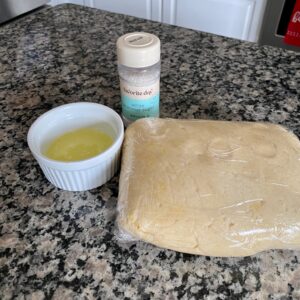
- 1 egg white for brushing cookies
- pearl sugar or sliced almonds for topping
Instructions
The Day Before
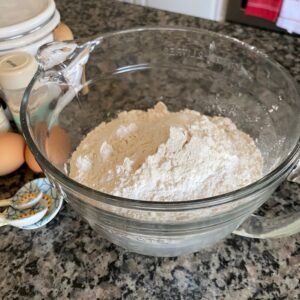
- Add the flour, butter and baking powder to a large bowl and combine using your hands until it' crumbly and soft (like sand).
- Add in the sugar and continue to combine using your hands.
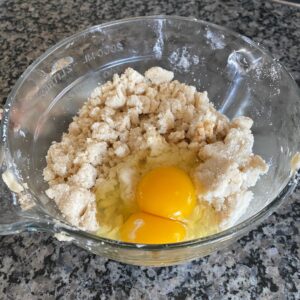
- Add the eggs and vanilla and combine using your hands or a spoon (it gets a little messy here!).
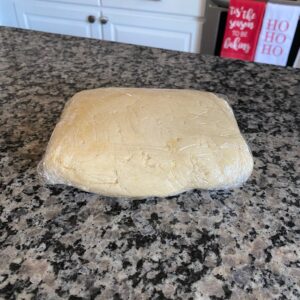
- Form the dough into a ball and wrap with plastic wrap.
- Store in the refrigerator overnight .
The Day Of
- Remove the dough from the refrigerator and allow to sit for a few minutes to warm up slightly.
- Preheat oven to 350 degrees and line several baking sheets with parchment paper.
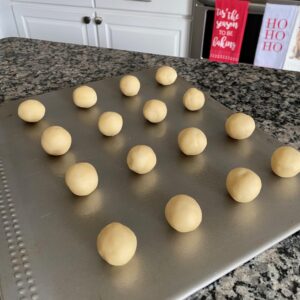
- Roll into 1 1/2 inch balls and place on baking sheets about 2 inches apart from each other.
- Once all the balls are on the baking sheet, use your thumb to place small indents in each cookie (it's normal for them to crack along the edges).
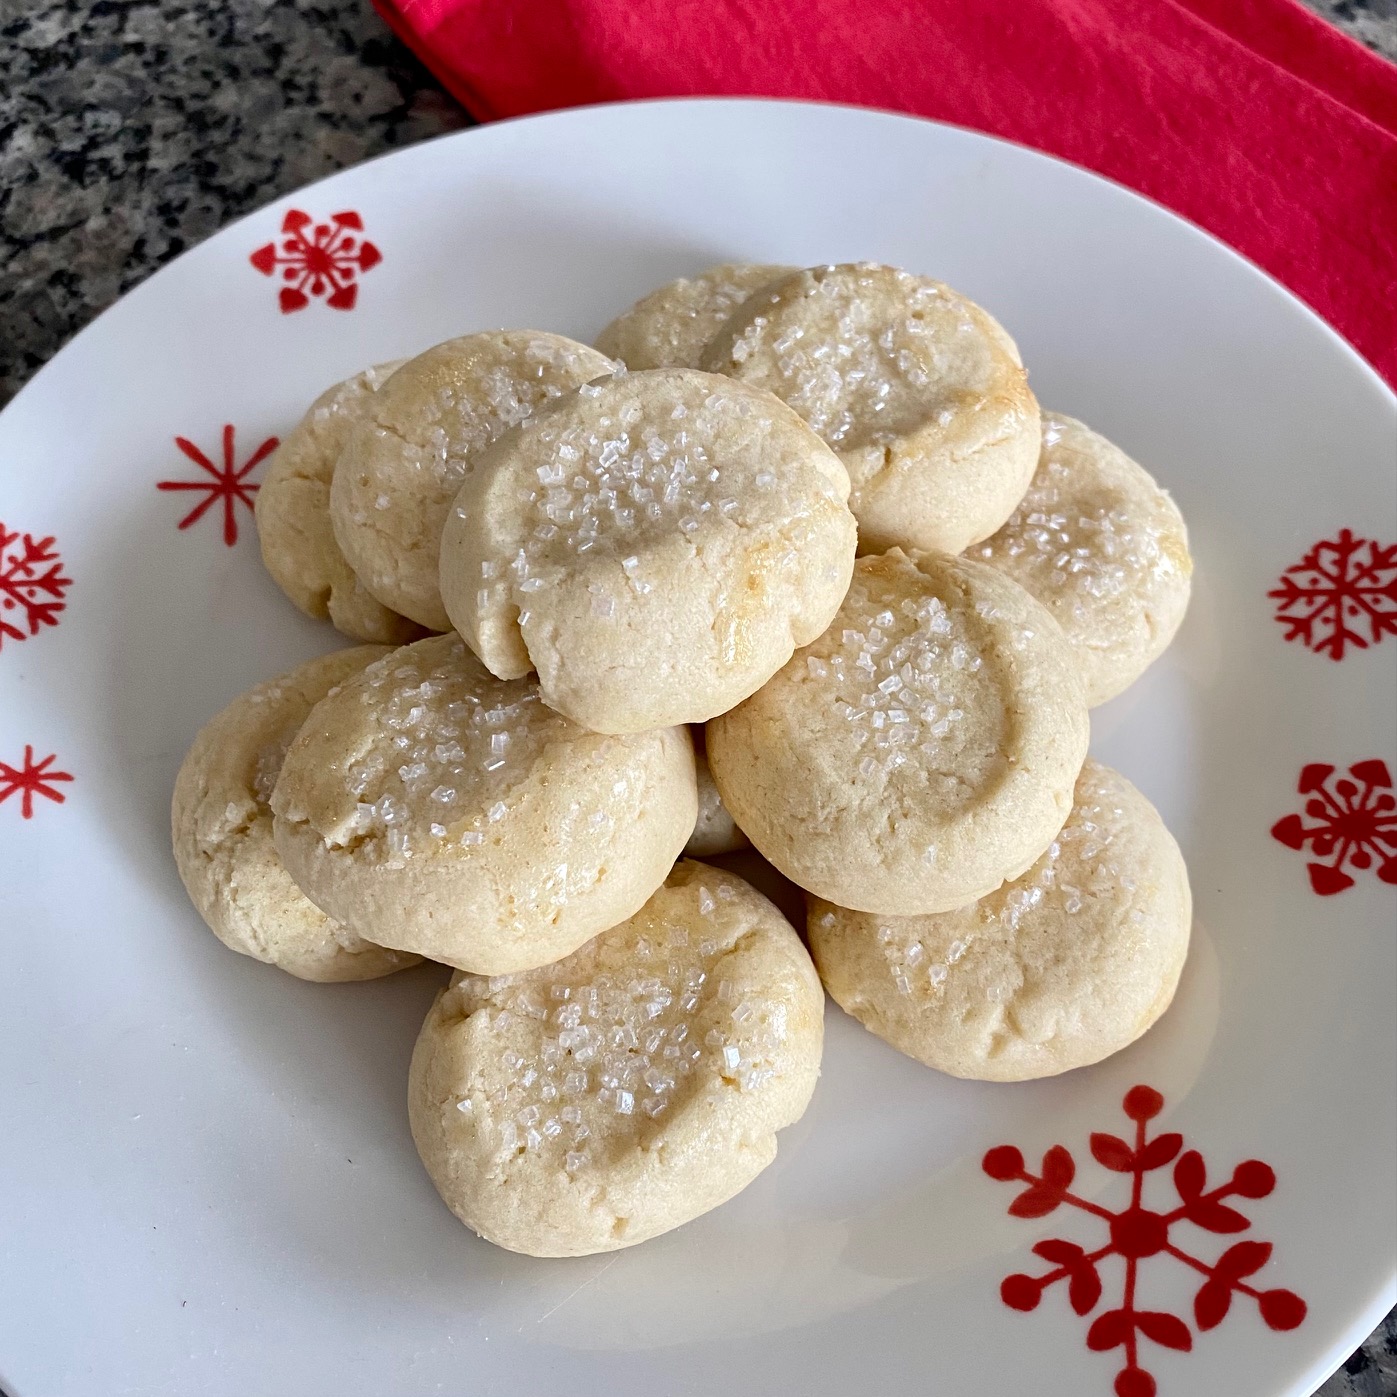
- Brush the top of each cookie with egg white to glaze then sprinkle with pearl sugar or almonds.
- Bake for 16 minutes, until slightly golden.
- Transfer to a wire cooling rack and allow to cool before storing and/or serving.
- They can be kept in an airtight container at room temperature for up to 2 weeks or they can be frozen if you're making them further ahead .
This year I have put my focus on embracing more cultural holiday traditions. My husband and I did our DNA tests a while ago and found we both are mainly Scandinavian with Norwegian being the most common between the two of us. So I thought it was only fitting to try out a traditional Norwegian cookie this year that will hopefully become a family staple in the years to come!
These cookies are designed to be absolutely delicious (and not a bit healthy) with the main ingredient being butter and I was immediately drawn to them because they look very similar to one of our family favorite holiday cookies, Thumbprints! They are a little messy to make and you have to split the work over 2 days because the dough needs to chill in the fridge overnight, but the time and waiting are totally worth it. These sweet, buttery cookies are absolutely divine. We are hooked!
Day one is all the prep work for the dough – you simply mix all the ingredients together until you get your delicious, buttery dough made and then you pop in the refrigerator overnight so it gets night and cold and easy to work with. This is key to making sure you have the perfect little cookies. If your dough is too warm when you go to bake it, they will spread out and just be a giant mess on your baking sheet!
Day two is the fun part. Now that your dough is nice and chilled, you will take it out of the fridge and roll it into little balls to place on your baking sheet. Similar to the thumbprint cookies, you’ll use your thumb to make an indent in the top of the cookie then brush it with egg whites and sprinkle with some pearl sugar or almonds before popping in the oven to bake. Once they come out, they will be the perfect light, golden color and taste absolutely divine – I mean who can’t resist a sweet, butter cookie?! Enjoy!
